

Last Updated: November 3, 2026
Quick Summary
A perfect grillz mold comes from clean, completely dry teeth, a tray that covers every tooth plus a little gumline, and putty that is mixed, loaded, and seated without air or movement. Hold completely still until the putty sets, then pull the tray straight down in one continuous motion.
- Dry every tooth and the gumline completely, because moisture breaks the bond between putty and enamel.
- Test the tray's dry fit before mixing so it reaches past the last tooth in the set.
- Follow your kit's own mixing time, since instructions range from 10 to 30 seconds.
- Hold completely still while the putty sets, as movement is the number one cause of a distorted mold.
- Pull the tray straight down in one continuous motion instead of rocking it side to side.
Table of Contents
- Prep Your Teeth, Tray, and Putty Before You Start
- How to Use a Grillz Mold Kit: Mix, Load, and Seat
- Grillz Mold Kit Instructions: Removing and Checking the Impression
- How Long Does Grillz Take to Mold?
- How to Make Grillz Stay on Your Teeth
- Book a Professional Molding Session at Baltimore Gold Fronts
- Frequently Asked Questions
Prep Your Teeth, Tray, and Putty Before You Start
A clean, dry surface is the difference between a grillz mold that fits and one that fails. The steps below show you how to get a perfect grillz mold without guessing.
A grillz mold is a dental impression of your teeth and gumline, captured in putty and used to cast a custom-fit gold piece. Get the prep right and the rest of the process follows.
Here's what most guides skip: the impression is the foundation.
Clean and Dry the Teeth
Brush and floss first. Rinse well, then dry every tooth with a clean cloth. Moisture breaks the bond between putty and enamel, so a wet mouth gives you a blurry, useless mold.
- Brush and floss to remove food and film
- Dry the front teeth and gumline completely
- Keep your lips pulled back so nothing touches the teeth
Choose and Test the Impression Tray
The tray must cover every tooth you want in the grill, plus a little gumline. A tray that's too small misses the back edges. One that's too big slides around and smears the putty.
- Check that the tray reaches past the last tooth in the set
- Trim soft trays with clean scissors if they're too long
- Test the dry fit before you mix anything
How to Use a Grillz Mold Kit: Mix, Load, and Seat
Timing decides everything here. Putty starts setting the moment you mix it, so have the tray ready before your hands touch the material.
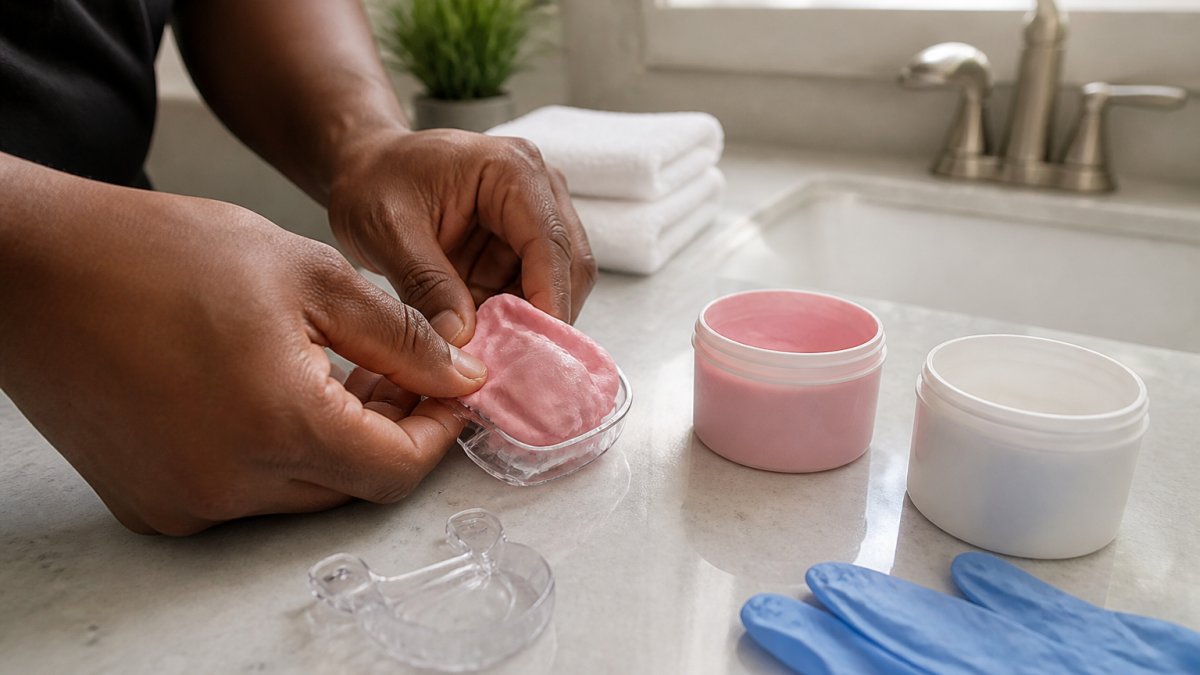
Mixing times vary by kit. One provider's instructions say 10 to 15 seconds; another says 20 to 30. Our own teeth impression mold kit includes step-by-step instructions, with shipping included both ways.

Load the Tray Without Trapping Air
Roll the putty into a smooth log. Press it into the tray from the center outward. Trapped air becomes bubbles, and bubbles become high spots in the final fit.
- Knead base and catalyst until the color is even
- Fill the tray edge to edge, no gaps
- Smooth the top so no air pockets sit under the surface
Seat the Tray and Hold Still
Center the tray and press it up firmly over the teeth. Bite down gently into the putty. Then hold completely still until it sets.
Movement is the number one cause of a distorted mold. Set a timer. Keep your tongue away from the tray. Breathe through your nose.
Grillz Mold Kit Instructions: Removing and Checking the Impression
Pull the tray straight down, slowly and evenly. Rocking it side to side warps the putty and ruins the tooth detail you just captured. Use clean tweezers to lift the edges if the tray sticks. Never pry with your fingers near the gumline.
Pull the tray straight down in one continuous motion, gripping the tray handle rather than the putty.
Impression Quality Checklist
Run through this before you ship the mold back:
- Every tooth in the set shows a clear, deep imprint
- The gumline edge is captured, not cut off
- No bubbles, tears, or thin spots in the putty
A flawed mold means a flawed fit. If something looks off, retake it before sending it in.
Troubleshooting a Flawed Impression
Not every defect means a full retake, but most do. Use this guide to decide:
Teeth Impression Home Mold Kits Shipping Included Both Ways Free With Grillz →
- Bubbles or voids in the tooth imprints. Small surface bubbles on the flat of a tooth may be tolerable, but any bubble that crosses a tooth edge or the gumline will create a high spot in the final piece. Retake.
- Missing or shallow gumline. If the putty stops at the tooth tips instead of wrapping slightly over the gum, the finished grillz will sit loose. Retake with the tray seated deeper.
- Torn or thin putty. A tear at the tray edge usually means the putty was mixed too stiff or removed too early. Retake and follow the kit's set time exactly.
When to Stop and Seek Professional Help
A professional molding session captures the impression in about 15 to 20 minutes at our Monument Street or Eutaw Street location.
How Long Does Grillz Take to Mold?
The impression itself sets in a few minutes, but the full process takes longer. From there, you ship the mold, and the lab casts and finishes your piece.
A Timed Workflow You Can Follow
Kit instructions always take priority over any generic timeline, but most putty kits follow a similar rhythm. Use this as a planning guide, not a replacement for the instructions that came with your kit:
- Prep (2 to 3 minutes). Brush, floss, rinse, and dry the teeth and gumline. Test the dry fit of the tray.
- Mix (10 to 30 seconds). Knead the base and catalyst until the color is even. Mixing times vary by kit, so check your instructions.
- Load (30 to 60 seconds). Roll the putty into a log and press it into the tray edge to edge, smoothing the top.
- Seat and hold (3 to 5 minutes). Center the tray, press up firmly, bite gently, and hold completely still until the putty sets.
- Remove and check (1 to 2 minutes). Pull straight down and run the quality checklist.
Total hands-on time is typically under 10 minutes. The set time is the part you cannot rush.
What Happens After the Impression
Once the impression passes the checklist, the rest of the process moves to the lab:
- Packaging. Most kits include a prepaid return label and a protective bag or box. Ship the impression in a rigid container so the putty does not compress in transit.
- Shipping. Transit time depends on the carrier and your distance from the lab.
- Model creation. The lab pours a stone model from your impression. That model is the exact shape your grillz are cast around.
- Casting and finishing. The piece is cast in your chosen metal, polished, and checked against the model before it ships back.
A professional molding session at our shop captures the impression in about 15 to 20 minutes, with no shipping step.
Here is the timed workflow most putty kits follow, from prep to checking the impression.
| Step | What to do | Time |
|---|---|---|
| Prep | Brush, floss, rinse, dry teeth; test tray dry fit | 2 to 3 minutes |
| Mix | Knead base and catalyst until color is even | 10 to 30 seconds |
| Load | Roll putty into log, press into tray edge to edge | 30 to 60 seconds |
| Seat and hold | Center tray, press up, bite gently, hold still | 3 to 5 minutes |
| Remove and check | Pull straight down and run quality checklist | 1 to 2 minutes |
How to Make Grillz Stay on Your Teeth
A snug fit starts with an accurate mold. Grillz slip when the impression missed detail, so the casting can't grip the tooth shape. Get the mold right and retention mostly takes care of itself.
- Capture the full gumline, not just the tooth tops
- Avoid bubbles, which create gaps the piece can't grip
- Choose a metal that holds its shape, like real 10K or 14K gold
Book a Professional Molding Session at Baltimore Gold Fronts
DIY works, but a pro session removes the guesswork. Our team captures precise impressions in about 15 to 20 minutes at either of our two locations.
Ready to start? Browse custom solid grillz tops in gold to pair with your session, or grab a gift card if you're buying for someone else.


We're GIA Certified, we work in real 10K and 14K gold, and we offer a custom-fit guarantee.
Frequently Asked Questions
How can you tell if a grillz impression is accurate?
Look for a clean, even record of every tooth and the gumline. Each tooth should appear as a distinct shape with no flat or missing sections, and the putty should show the full height of the tooth from tip to gum edge. Bubbles, gaps, or a putty that pulled away from the tray mean the grillz mold is not accurate. Check both the upper and lower impressions before you ship them back.
What should you do if your grillz mold has bubbles or gaps?
Gaps across a tooth surface cannot be repaired, so take a new impression. If the impression has large voids, thin spots, or distortion, take a new one. A flawed impression leads to a grill that rocks or presses on the gum. Kits with three base and three catalyst putty sets give you spare material for a second attempt.
How long does it take to make a grillz mold?
The full process takes about 15 to 20 minutes per arch when done in person, which is the window Baltimore Gold Fronts quotes for a molding appointment. Mixing time varies by kit: some instructions say 10 to 15 seconds, others 20 to 30 seconds, so follow the guide that came with your kit.
How do you make grillz stay on your teeth?
Fit is the deciding factor. A grillz mold that captures every tooth and the gumline supports a precise fit. Crooked or uneven teeth can make fit more difficult, which is why an in-person fitting is worth considering.
Getting a perfect mold comes down to clean teeth, correct timing, and holding still. If you'd rather leave it to the pros, Baltimore Gold Fronts captures precise impressions in minutes at two locations, with real 10K and 14K gold, GIA Certified craftsmanship, and a custom-fit guarantee. Get started with Baltimore Gold Fronts and walk out with grillz that fit right the first time.
